These are basic e-book ordering procedures. Remember to confirm that your Location is correct (Law or Processing).
- Search the Repository for possible duplication.
- If a duplicate copy is needed, click Action > Order. Proceed to Step 5.
- If no record is found, import a record from World Cat.
- From the Persistent Menu, select Resources > Search External Resources to open the MD Editor.
- The Cataloging Profile should be WorldCat.
- Enter title, author, ISBN, etc. to locate the correct record.
- Click Import. The record will appear in the MD Editor.
- Make any necessary changes to the record using the Edit menu in the Toolbar.
- Save the record (click on Save icon, or click File > Save Record, or press Ctrl+S).
- Click on the Create POL & Exit (shopping cart) icon. You can also use the Ctrl+Alt+O shortcut.
- Complete the fields in the PO Line Owner and Type page:
- Purchase Type = Electronic Book – One Time
- PO line owner = Processing (or Law for law staff)
- Click Create PO Line.
- Complete the Purchase Order Line Details page.
- In the Summary Tab, complete the following fields:
- Ordered Items section – note: electronic items have additional items than print
- License = Leave blank for now. We will use in the future.
- Activation Status = no action needed. We will activate in a later step.
- Vendor Information section:
- Material Supplier = where we are purchasing the item/sending payment.
- Access Provider = vendor of the interface where the content is located (Leave blank if you’re unsure).
- Claiming Grace Period (days) = use default.
- Expected activation = use either the “Expected after ordering (days)” or the “Or expected activation date” field. Do not use both fields. This field is used to calculate the claim date.
- E-Activation due after ordering (days) = The number of days after ordering that the activation task is due. This will generate a past due alert for the assigned task.
- Pricing and Funding sections:
- Add list price and quantity.
- Fund: select appropriate fund and click Add Fund.
- PO Line Details section:
- Acquisition method = usually will be Purchase at Vendor System.
- Material type = Book (should default to book).
- Invoice status: Default is No invoice. Do not change. This will update automatically as order goes through invoicing process.
- Reporting code: TBD – in the process of setting up in Alma
- Rush: check box if a rush order
- Identifier = ISBN/ISSN. Will automatically populate from the first 020/022 field of the bib record. You can change if needed.
- In the Interested Users tab, you manage users interested in the acquisition.
- Click Add interested users.
- Search for and select a user.
- Check the Notify user upon activation box for Alma to send the user an email when the item is activated.
- Click Add.
- Ordered Items section – note: electronic items have additional items than print
- In the Summary Tab, complete the following fields:
- Select a Save Option:
- Save will save the PO line as a draft in Review status so you can make edits to it later.
- Save and Continue will save the PO line and move it to the packaging stage where it is packaged into a Purchase Order. If mandatory information is missing or erroneous, an error message will display and the PO line will remain in Review status.
- Order Now will save the PO line and package it into its own Purchase Order – a package of one. This might be useful in the case of Rush orders.
- Click Confirm after checking Confirmation Message
Link to the Community Zone
To connect the portfolio to the metadata shared by Alma libraries, we need to link the portfolio to the Community Zone (CZ).
- Using the Electronic Portfolios search, locate the title you just ordered.
- Click the Link to community button. The Link Standalone Portfolio to Community Zone Collection wizard opens with a list of electronic collections from which the title is available.
- Click the radio button of the appropriate portfolio.
- Click Next.
- More information about the electronic collection you selected is provided (e.g., Type, Interface Name, Linking Level, etc.). If more than one collection is listed, use the radio button to select the appropriate electronic collection.
- Click Next.
- Select “Keep local descriptive metadata. Note that the descriptive metadata will not be synchronized with updates from the community zone.” This will link the portfolio to the Community Zone while keeping the bib record in the institution zone.
- Click Next.
- At the confirmation screen, verify that the correct collection and metadata options were selected.
- Click Link to Community.
- Proceed to Test Access and Activate E-Book instructions.
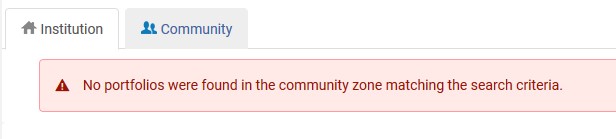
If No Community Zone Portfolio Is Found
Occasionally you will encounter a “No portfolios were found in the community zone” message. This occurs for one of two reasons:
- There is no CZ portfolio for a title, usually because the title has recently been published. In these cases, we still need to associate the standalone portfolio to a CZ collection and enter a URL for access. It will remain a local portfolio that we maintain but will be a member of the CZ collection.
- There is an extra 020 |z in the bib that is preventing Alma from matching to a CZ portfolio.
If you encounter this message, click on the Community tab to verify that no CZ portfolio exists.
If there really is no CZ Portfolio:
- Locate the standalone portfolio.
- Click Edit Portfolio.
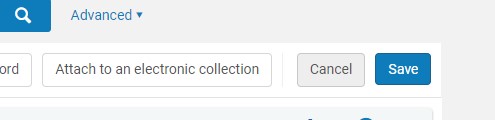
- Click Attach to an electronic collection in the top right.
- A window will open asking you to select a collection and a service. Click in the Electronic Collection field to search for the appropriate collection.
- Click Confirm.
- Click the Linking tab.
- Enter the e-book URL that was provided by the vendor in the Static URL field. Be sure that the Static URL button is selected. The portfolio will inherit the CZ Collection proxy settings so there is no need to enter proxy information in the portfolio.

- Click Save. We now have a local portfolio that is part of the CZ Collection. E-Resources will periodically generate a list of local portfolios to check if a CZ portfolio has been created.
- Proceed with Test Access and Activate E-Book instructions.
Test Access and Activate the E-Book
- Go the Electronic Resource Activation Task List via one of three ways:
- Resources Menu > Manage Electronic Resource Activation
- Using the Tasks widget – Electronic resources – Activation – unassigned
- By clicking on the Task List icon (clipboard with a check mark) in the main menu bar
- Locate the title in the Unassigned tab (you can narrow by using the search box under the tab).
- Click the Actions button (ellipsis icon) > Test Access.
- This will open the Alma Online Services window, showing the link a to the resource on the publisher’s site. Make sure that the publisher/platform link name listed here matches the publisher we have ordered from.
- Click the platform name and confirm that access is working properly by clicking into the volume.
- Click the Back icon to go to the Assigned to Me tab. The e-book you just tested is now assigned to your Electronic Resource Activation Task List because you have taken action on it.
- Click Actions > Activate.
- You will see a confirmation message pop up: “You are about to activate the service – are you sure you want to continue?” Click Confirm.
- You will then see an activation feedback message pop up: “[title] is now available. Do you want to edit it?” Click Confirm to open the Electronic Portfolio Editor page and edit the resource. If no editing is needed, click Cancel.
- In the Electronic Portfolio Editor, update any necessary information (e.g., linking parser, authentication notes, etc.).
- Click Save to return to the Assigned to Me tab of the Electronic Resource Activation Task List.
- Click Actions > Done to complete activation and make the resource display in Primo.
Speed Cataloging
If the record is a DLC record (776 field has a DLC) proceed with speed cataloging:
- Open the record in the Metadata Editor.
- Change the first indicator of the 776 field to 1.
- Add a 951 field and enter: lu;[your initials];mmyyyy (for example: lu;eel;042019).
- Select File > Save and Release Record.
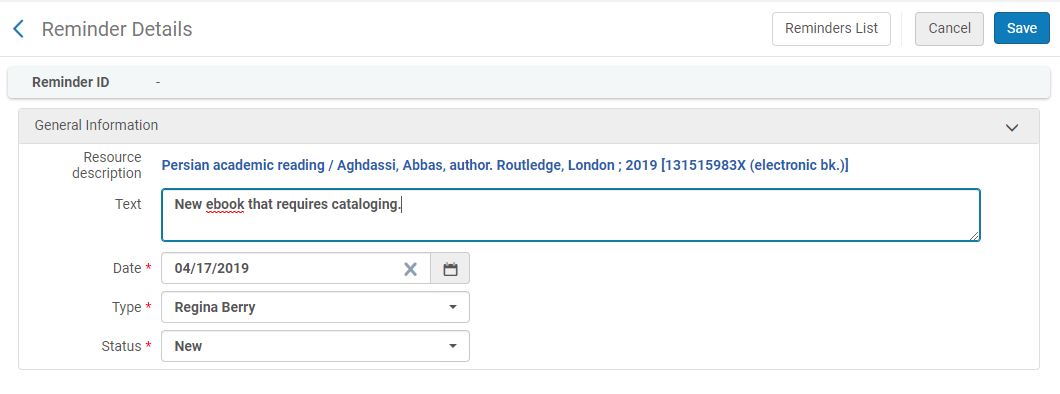
If the record is not a DLC record, use the Reminder button in Alma to send to cataloging:
- At the bibliographic record, select Action List > Add Reminder.
- Use the Type dropdown to select the appropriate cataloger.
- In the Text box indicate what action is necessary (e.g., new ebook needs cataloging).
- Select Save.
For more information, see the Ex Libris documentation: